Set up a Check-Ins computer
Install the Check-Ins app on the computer your label printer is plugged into, approve it from your phone, and print a test label.
5 min read · 9 steps
What the desktop app is for
Check-Ins runs in the browser. Your staff set it up, check families in at the desk, and see rooms and check-out at onesanctuary.app on any computer, iPad or phone. The desktop app is for the computer your label printer is plugged into: it connects Check-Ins to the printer, so labels print by themselves with no print dialog. The same app can also turn a Mac or PC into a locked kiosk where families check themselves in. You only need it on those computers.
Download the app
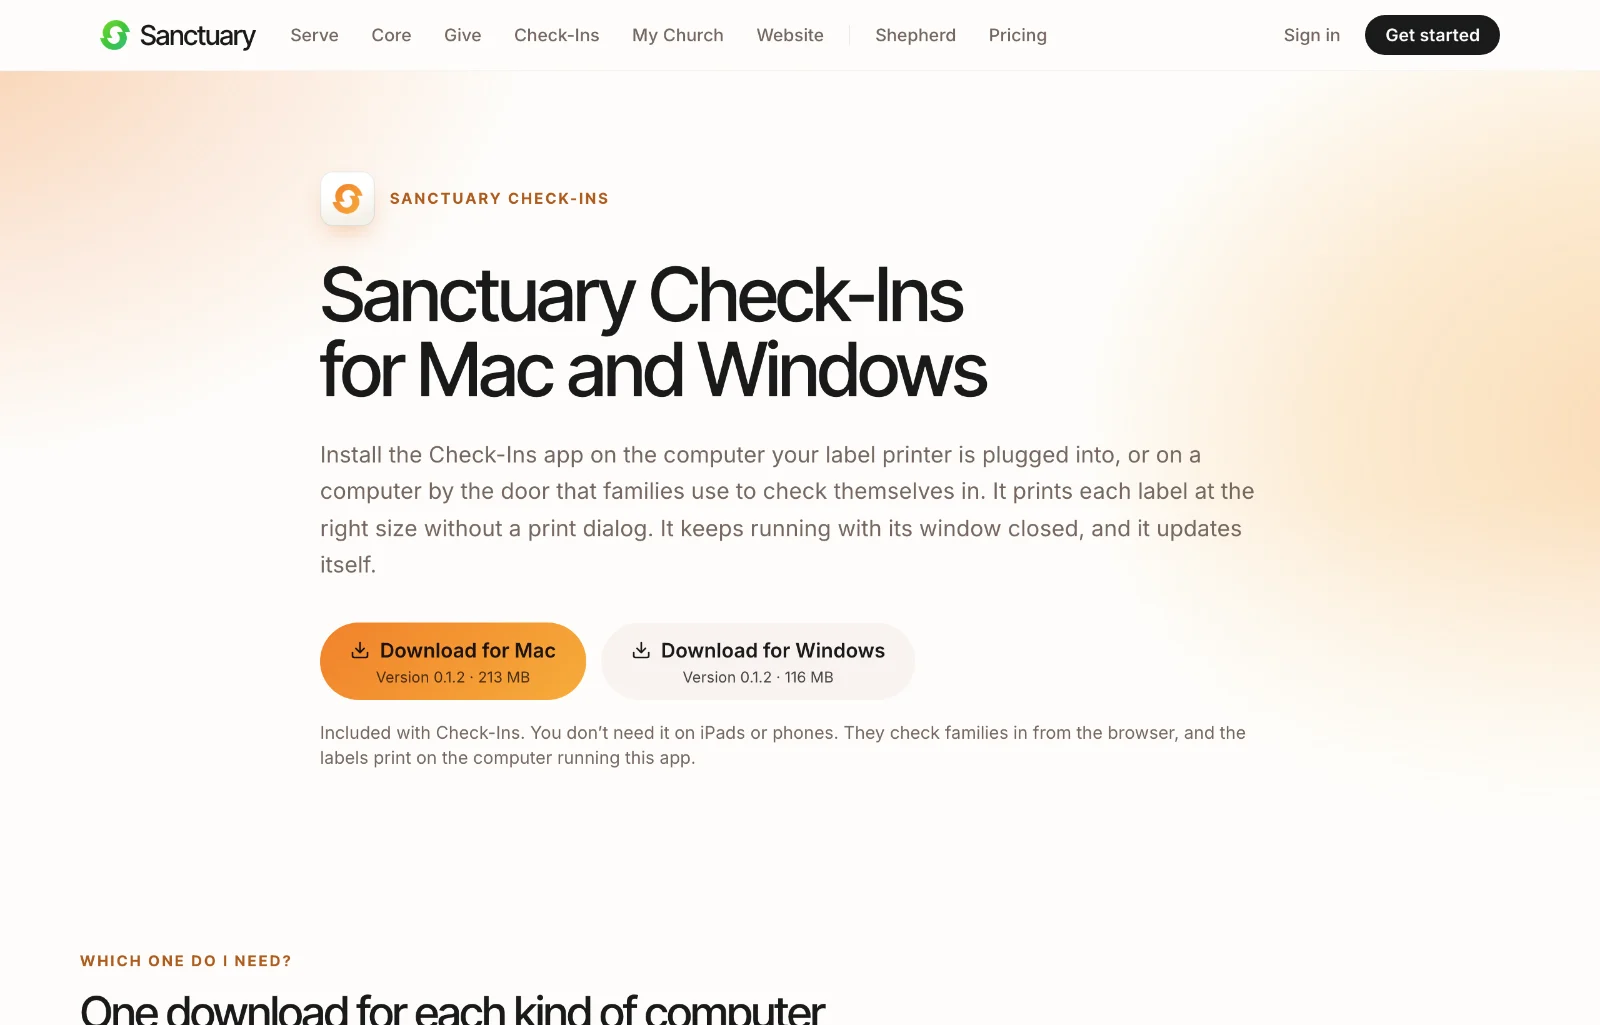
On the computer the label printer is plugged into, go to onesanctuary.app/download/checkins (Get the desktop app on Check-Ins → Pair a computer or Stations opens it) and choose Download for Mac (macOS 13 or later) or Download for Windows (Windows 10 or 11). Add the printer to the computer with its maker’s driver first, and print one label from the computer to make sure it works. An iPad, Chromebook or phone doesn’t need the app.
Open it the first time
Your computer may warn you about an app from an unknown developer. This is expected while Check-Ins is in beta, and Check-Ins is safe to download. On a Mac, open System Settings → Privacy & Security, scroll down and choose Open Anyway. On Windows, choose More info, then Run anyway. You only do this once.
Choose what this computer is
The app asks What is this computer? Choose Printer station for a computer that prints labels, or Kiosk for a screen families use to check themselves in.
Approve it from your phone
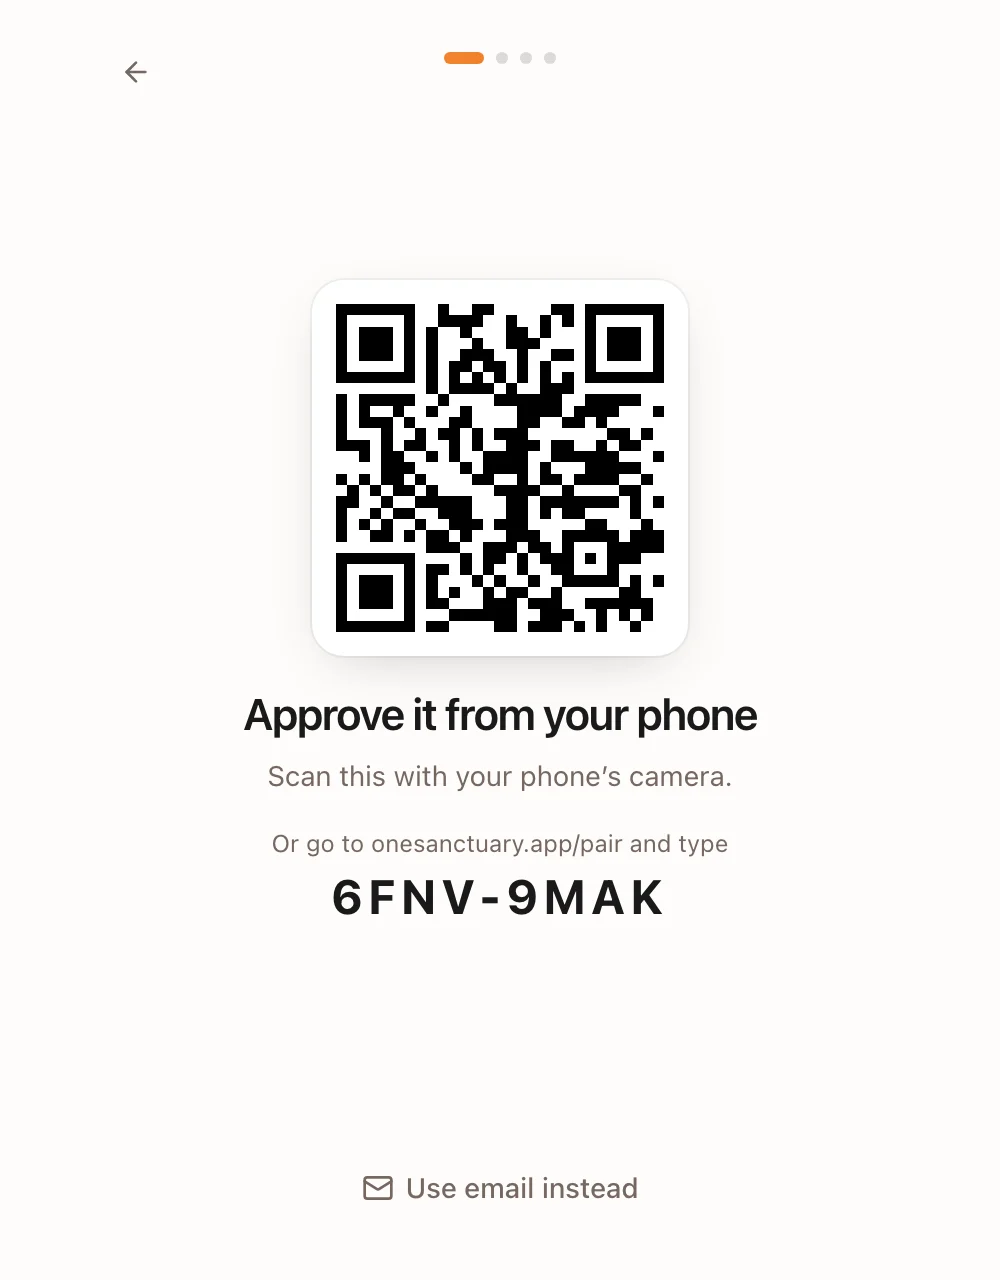
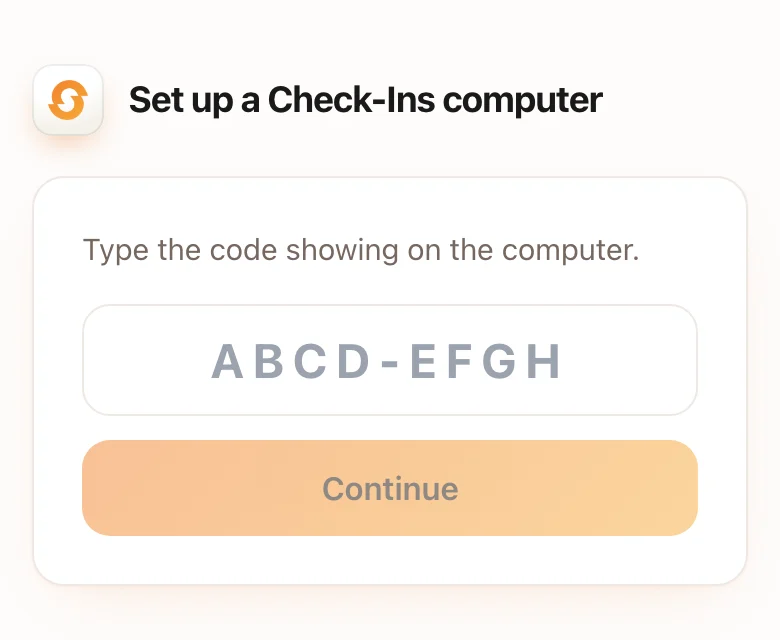
The computer shows a QR code and a code like ABCD-EFGH. Scan the QR with your phone’s camera, or go to onesanctuary.app/pair on your phone and type the code. If your phone isn’t signed in to Sanctuary, choose Email me a code and type the six digits from the email, or choose Use a password or Google instead. Check that the code on your phone matches the one on the computer. Printer station or Kiosk is already chosen to match the computer, and you can change it. Give it a name and a campus, and choose Approve. The computer carries on by itself, and nobody stays signed in on it. Only a Check-Ins administrator can approve. Without a phone, choose Use email instead on the computer and sign in there with your email and the code it sends you.
Choose the printer and labels
Back on the computer, choose your printer from the list (Look again if it isn’t there yet), say which labels are loaded, and choose Print a test label. If it looks right, choose Yes, all set. If not, choose No and the app walks you through what to fix.
Ready
The app now says Ready: labels print here automatically. Leave it running with the computer awake and the lid open. It keeps printing with its window closed and keeps the computer from sleeping. From the ready screen you can Change printer, see Who prints where, Stop printing here, or Add another printer if more than one is plugged in.
A kiosk computer
If you chose Kiosk, choose Start the kiosk. It runs full screen and locked, so families can’t leave it. To leave a locked kiosk, an administrator holds the top-left corner for three seconds and approves with their phone (or Use email instead). Then choose Leave kiosk mode or Printer setup. The kiosk locks itself again after ten minutes.
Updates
On Windows the app updates itself at start-up or between 1 and 5 a.m. It never updates mid-print, within three hours of the last label, or within half an hour of a kiosk being used. On a Mac, the app tells you when a new version is ready, and you download it from the same page.